Migrate WooCommerce to Shopify: 2026 Playbook
A WooCommerce store wouldn’t normally fail on a Tuesday.


Most operators think moving the store from WooCommerce to Shopify is just an export and import job, but it is much more than that. It involves rethinking how your store captures product information, customer details, purchase information, customer subscriptions, taxes, product reviews, and search results. The CSV is the easy part. The mistakes happen with everything else that the CSV can’t carry.
This guide is designed for operators and teams that want to understand potential issues, understand why things break during a migration, and do it all while avoiding a quiet 30-day revenue loss. If you are still trying to evaluate the two platforms, our guide on Shopify vs WooCommerce might be helpful in evaluating the tradeoffs.
Why a WooCommerce to Shopify Migration Is Harder Than the Guides Suggest
Leading practitioners keep repeating this same warning. One lead developer described spending close to a year with nine senior engineers to migrate a single store. They also spent weeks on domain-driven design workshops before writing a single line of code. This is an enterprise anecdote, not a benchmark. However, it illustrates some of the real work that needs to be done: Vouchers that provided discounts that resulted in partial order refunds, subscriptions that spanned the cutover date, and coupon rules that had no equivalent on the destination.
Simplifying the catalog speeds up the process, but the type of problem does not shrink along with it. Custom business logic still doesn’t map. It needs to be redesigned.
The three main issues that lead to most of the problems are:
- Order history. WooCommerce stores orders as WordPress post types and is still transitioning toward custom order tables. Shopify uses its own schema. There is no clean, official path for full order history migration, and Stack Overflow questions on this are among the platform’s most persistent unanswered threads.
- Product variations. Shopify caps native product options at three. A WooCommerce product with size, color, material, and engraving cannot be flattened without redesign. Shopify’s own documentation confirms the limit and warns that additional options will not import. See Shopify’s WooCommerce migration guidance for the specifics.
- Authentication and reviews. Passwords cannot be transferred because the two systems hash credentials differently. Every returning customer will need an activation email. Product reviews need a separate migration path, or they start empty on launch day.
There are predictable ways URL structures diverge. WooCommerce uses /product/{slug}/ and /product-category/{slug}/. Shopify uses /products/{slug} and /collections/{slug}. The account path changes. The blog path changes. Each of these is a 301 that you owe to search engines and your return customers, as Ecosire’s migration guide provides some practical examples.
For context, a 2024 comparison found Shopify at 26.2% of ecommerce websites, and WooCommerce at 20.1%, with Shopify having a stronger presence among the top million sites. The numbers come from different methods of measuring, so consider them directional. For a migration, what is important is that Shopify focuses the most on higher traffic merchants, and that is where the 2024 market-share picture is shifting.
The Pre-Migration Audit That Actually Predicts Cutover Success
To reduce launch risks, everyone must open a single spreadsheet and give it tabs for catalog, customers, orders, plugins, SEO, and finance. Anything left blank in that spreadsheet is a risk for launch day.
As a starting point, create a full export of WooCommerce for products, customers, and orders. However, it is also recommended to export the complete WordPress database. A lot of metadata from custom post types and taxonomies and from other plugins can be lost in typical WooCommerce exports. Store owners quickly learn on day 2 that most of the useful information for a product can be found in a plugin’s tables and are often not found in WooCommerce exports.
Record the honest state of the store:
- Catalog. SKU count, variant count, product types, gallery images, attributes, and missing fields you have been meaning to fill in for a year.
- Customers. Accounts, addresses, marketing consent, stored payment references, and any support-sensitive segments (VIP, wholesale, at-risk refund cases).
- Orders. History, refunds, fulfillment states, cancellations, partial deliveries, and payment references.
- Commercial obligations. Active subscriptions, gift card balances, store credit, unpaid invoices, refund reserves, tax liabilities, and payout schedules.
Next, document how each WooCommerce extension corresponds to its Shopify equivalent extension. It is not sufficient to write “subscriptions plugin” and move on. Document what the extension does, who is impacted, and whether there is an equivalent feature in Shopify, a paid application, or if custom work is needed. This is where budgets begin to quickly grow.
To create an SEO tab, you will need to complete a full site crawl and document organic landing pages, high-value backlinks, and the highest converting URLs from Analytics and Search Console. Document product pages, category pages, blog posts, and tags. Also document any custom post types, such as custom pages for brands or lookbooks.
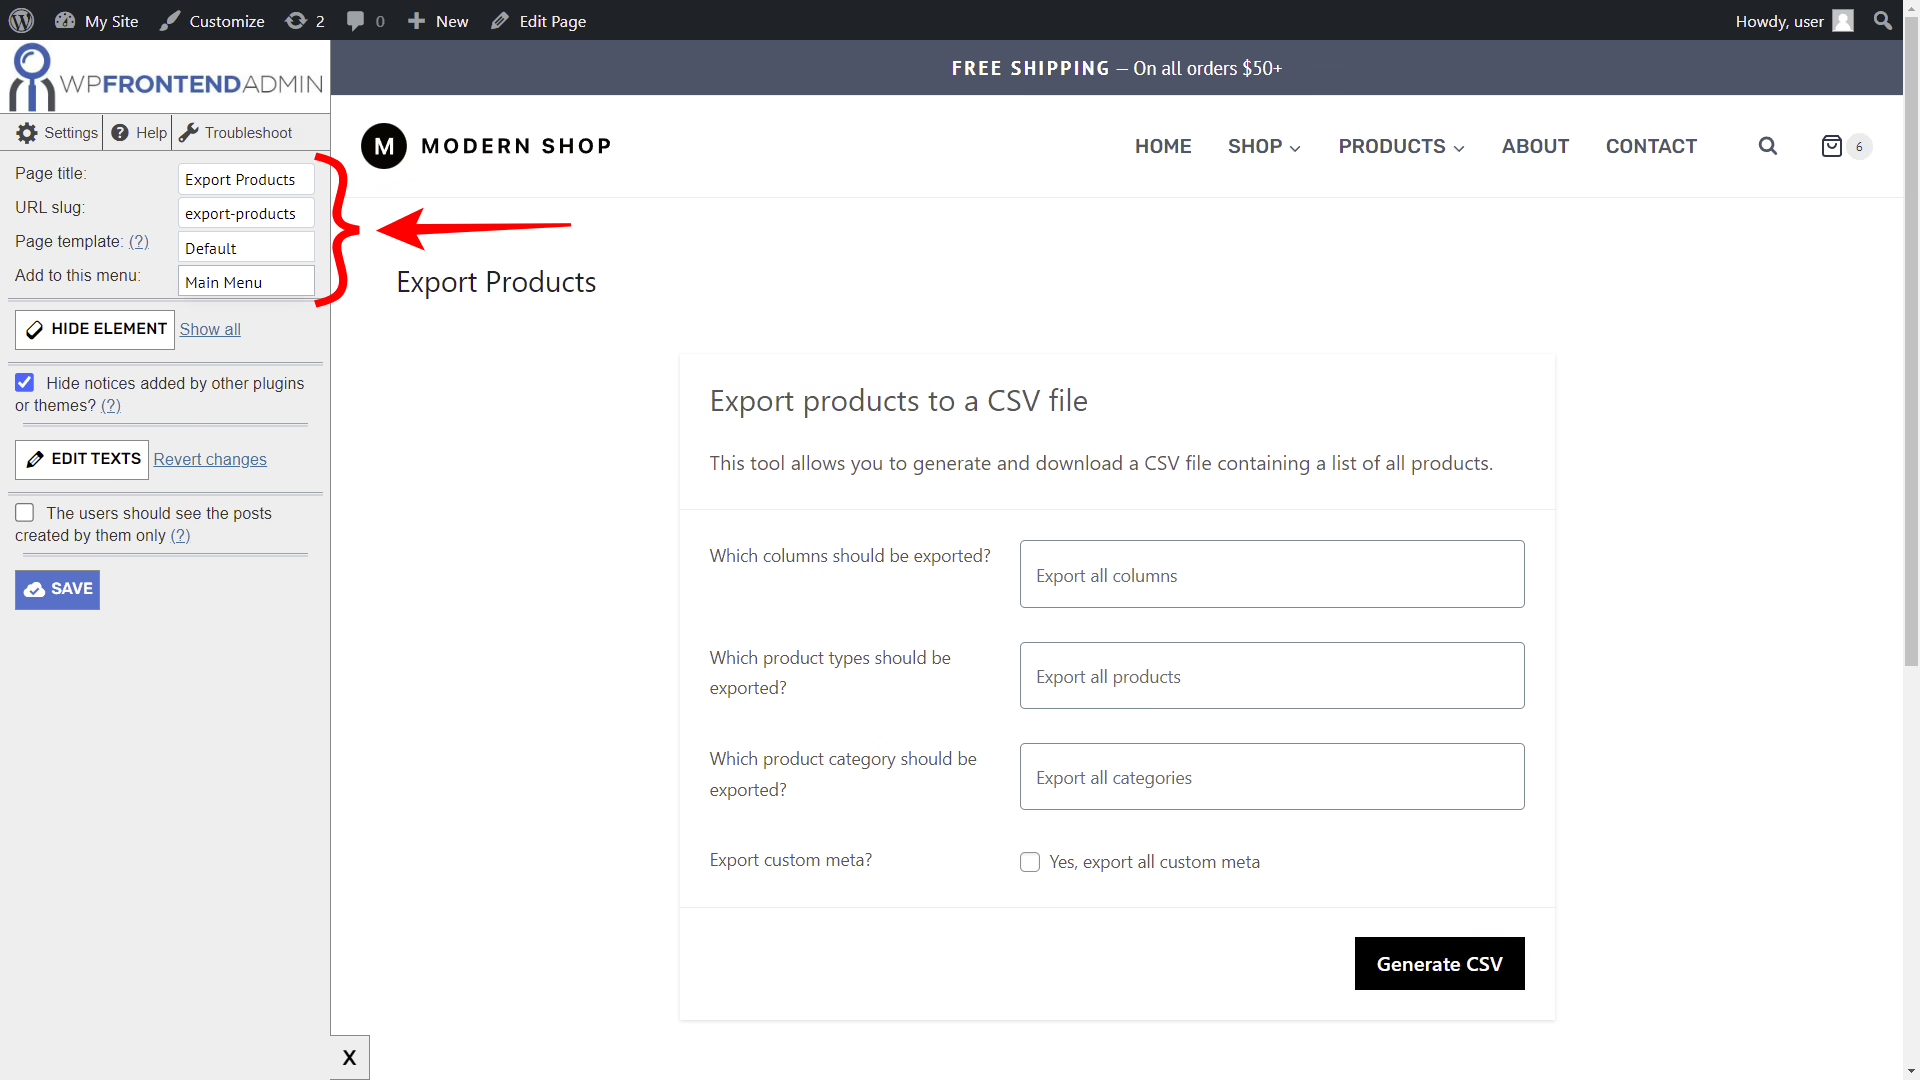
It is important to take care of all image tidying during the audit to avoid having to do it after a launch. In Shopify, several factors influence merchandising including file weight, the order of images in a gallery, their filenames, and alternate text. This guide on WooCommerce image optimization at scale is useful for the cleanup pass. Refact’s Shopify migration checklist simplifies the audit to assignable to-do list items. The rule is simple: if a cell in the spreadsheet is empty or if it contains an estimate, do not execute the migration.
Mapping Products, Customers, and Orders to Shopify’s Data Model
Shopify does not always translate WooCommerce’s structure. You have to redesign how products and customer data are represented. Several practitioners have articulated the same issue: flat CSV imports result in poor product content, and treating the entire migration as a copy operation results in a new store that is worse than the old store.
The most significant constraint is the three-option limit. With more than this, you have to make your decisions for each product family and determine which options become native, selectable options, and which options become metafields, tags, or line-item properties. Line-item properties should include information that is not purchased but is of a personal nature (i.e. a note, a gift message). Attributes that affect merchandising but not price (i.e. the fabric of the product and the place of origin) should be metafields. If a catalog truly exceeds the variant limit on Shopify, offer the same product under multiple listings as opposed to holding multiple attributes in a single listing.
| Data element | WooCommerce source | Shopify destination | Migration action |
|---|---|---|---|
| Products | Simple and variable products | Products and variants | Rebuild option logic, verify SKUs, resolve three-option cap |
| Extra attributes | Product attributes, custom fields | Metafields, tags, line-item properties | Decide per field whether it affects purchase |
| Images | Gallery and featured image | Product image array | Re-associate images to variants and confirm order |
| Customers | User records, billing details | Customer fields and addresses | Map native fields, tags, metafields; trigger activation flow |
| Loyalty and wholesale | Plugin fields, user metadata | Customer tags, metafields, B2B catalog | Define permissions and downstream logic before import |
| Orders | WooCommerce orders | Shopify order records or import tool | Test history, refunds, and reporting separately |
Customers’ name, email, phone, address, marketing status, total spent, and order count are neatly transferable. Loyalty tiers, wholesale flags, and custom fields require either tags or metafields. Guest orders that have not been linked to accounts in WooCommerce (a known long-standing issue) should be consolidated by email match before import, otherwise the same customer will show up twice in Shopify.
Historical orders must be addressed separately. Some operators import historical orders for reporting purposes or out of concern for the customer. Others accept a firm cut-off date and place the old store in a read-only format for historical lookups. Both positions are valid. What is not valid is finding out after launch that your finance team is unable to reconcile the last quarter.
Subscriptions require some planning. Shopify replacements for existing services such as Recharge, Bold, and Appstle do not maintain subscriptions automatically. Every existing subscription requires a specific plan of action, such as pause, notify, migrate token, or confirm authorization. Reviews also require a separate work stream. Shopify review apps come built with no data; therefore, they remain empty unless a specific migration method is used. Star averages will not be restored on their own.
When the NudFud WooCommerce build we delivered was deployed to production, the hardest part was never working out the checkout. It was in the building of the product itself, which included certifications and nutrition panels with comparison logic. Everything needed to work across variants, without the page looking like a spreadsheet. This work fits into the same category as a good WooCommerce to Shopify migration. Take a look at how we approached the NudFud catalog for an example of what “getting the model right” means in practice.
If the downstream systems (ERP, warehouse, marketing) will consume this data, make sure you lock the schema before you go live. This is recommended reading: ecommerce platform integration patterns. Budget one full day for each 1,000 SKUs in mapping and QA. Consider this work as catalog work. For a more detailed look at the data passes, our Shopify Data Migration Playbook explains some of the steps stores often omit.
Redirect Mapping That Actually Protects Organic Traffic
Every single indexed WooCommerce URL is a commitment you made to search engines and your returning customers. Break that commitment without a replacement, and that link will just lead to nowhere. There are many case studies that say with Shopify, post-migration re-indexing will take much longer than anticipated. This makes redirect discipline the highest-leverage SEO work you can do.
Use a crawl along with recent Search Console and analytics data for landing pages. Analyze the product, category, tag, blog, and custom content paths. Once you have this data, create a one-to-one redirect map. While this may seem like an easy way to address specific product pages, wildcards will lead to a generic collection page, which will result in a loss of the page’s ranking signals.
| WooCommerce URL | Shopify URL | Redirect rule |
|---|---|---|
/product/blue-shirt/ |
/products/blue-shirt |
Exact 301 redirect |
/product-category/shirts/ |
/collections/shirts |
Exact 301 redirect |
/shop/ |
Chosen Shopify collection or landing page | Confirm manually |
/account/ |
/account |
Exact redirect |
| Custom content path | Matching Shopify page or blog path | Review individually |
The one-to-one redirect map should be in a spreadsheet in an easy-to-read fashion with Redirect from and Redirect to columns. Once this is in the format Shopify will accept for bulk URL redirects, it is the safest way to handle your large catalog. Refer to Meetanshi’s WooCommerce to Shopify guide for CSV formatting instructions.
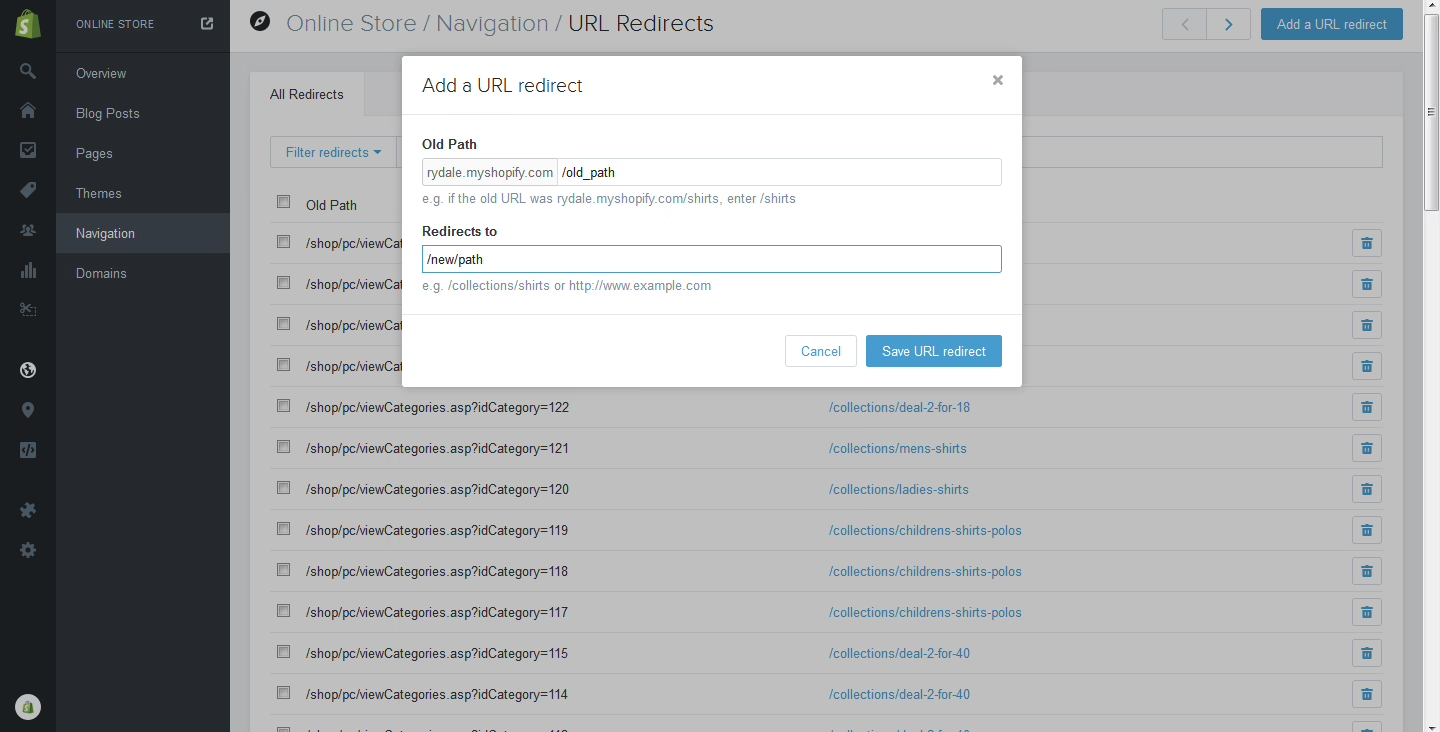
When possible, avoid redirect chains. Crawl the old paths after the redirects are in place. Do not wait to fix broken links; update your sitemap and submit it to Search Console before the cutover to ensure your best URLs are indexed first. A broken link is a missed business opportunity if your rankings are driven by organic search. Businesses should also consider how their site will appear in AI answer surfaces once the site is launched.
Planning a move of your own? Our Migration Blueprint maps the content, redirects, and risks before anything is touched. Get the blueprint.
Staging, QA, and Choosing the Cutover Window
Never test migration logic against the live store. Use a password-protected Shopify development store or a private theme preview, and connect payments to a test gateway while the team validates data and behavior.
Having your product appear in Shopify does not confirm the completion of the migration. Establish real customer purchasing behaviors with sample order transactions.
- Checkout conditions. Discount codes, gift cards, tax-inclusive and tax-exclusive regions, multi-currency, Apple Pay, Shop Pay.
- Account conditions. A returning customer, a new customer, an address change, and the password-reset activation flow.
- Catalog conditions. Simple products, variable products, products with custom properties, out-of-stock items, and products with multiple images.
- Operations. Fulfillment notifications, inventory deductions, refunds, reports, and webhooks fired to downstream systems.
Line up the total checkout amounts for the same SKU on both platforms. The tolerance is one cent, not ‘close enough.’ Test shipping, tax, allocation of discounts, and rounding separately. A total can look correct even though the underlying calculation is wrong, and that is exactly the kind of defect that surfaces two weeks after launch when a customer disputes a charge.
Choose a quiet operating window. Aim for a seven-to-fourteen-day period with low traffic. The time period should include a Tuesday through Thursday, and the cutover should fall between 2:00 A.M. and 6:00 A.M. in your primary market. There should not be any paid ads or launches of new campaigns during this time. Before the switch, WooCommerce orders should be frozen. A final export should be performed. The old site should be put in maintenance mode, and the domain should be pointed to Shopify. The certificate should be confirmed, and at least five live test purchases should be made using real credit cards. The storefront password should be removed once testing is complete. The old site should be kept as a read-only site until the live orders and support tickets have stabilized.
Effort, Cost, and When to Bring in Help
Do-It-Yourself (DIY) setups work when the business has a small data flow, and simple business rules. However, they quickly become impractical as the operator is expected to review every variant and customer record, and to manage every edge case related to payment and redirect logic.
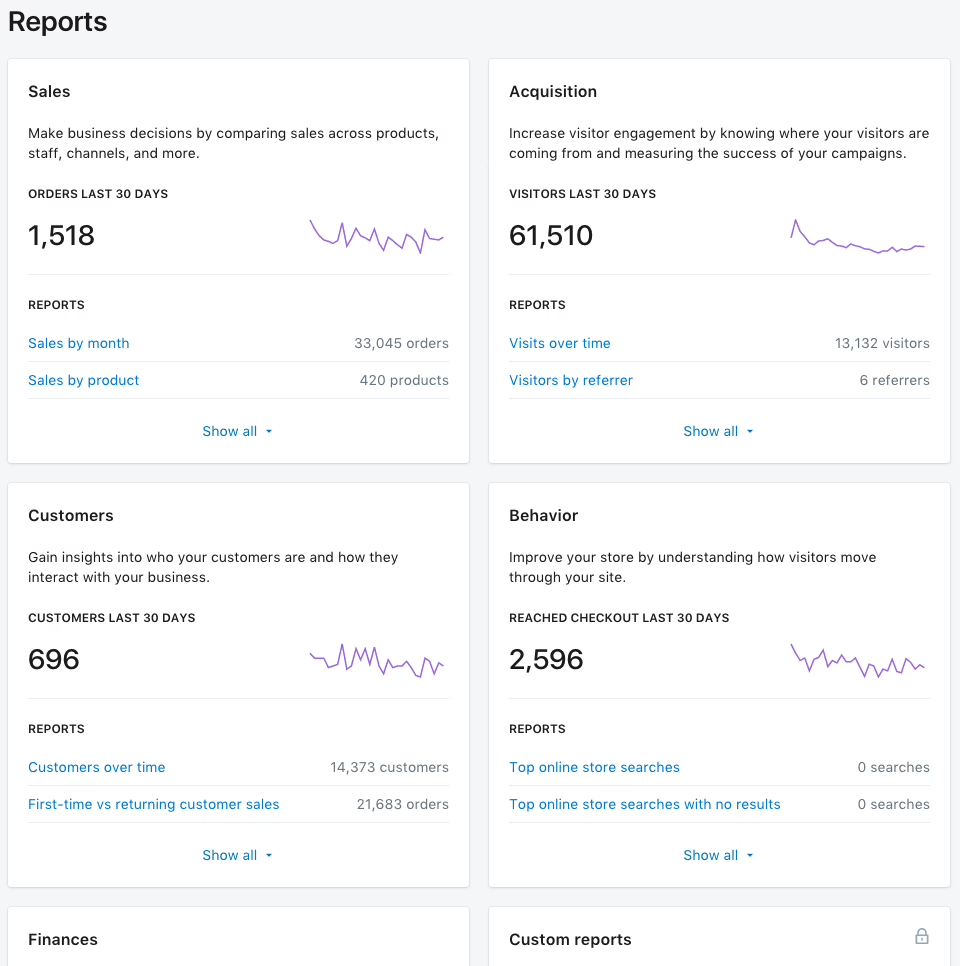
Realistic planning for a solo operator with under 200 SKUs would take 60 to 90 hours over the period of two to three weeks. For each additional 1,000 SKUs, add about 30 hours. Custom product types such as bundles or configurable kits would add about 40 hours. Subscriptions, multi-warehouse operations, B2B pricing, and a headless frontend would add at least 80 hours. Treat all these estimates as planning ranges, not as guarantees. Unfortunately, there aren’t any true benchmarks for how long most WooCommerce-to-Shopify migrations take, and most public anecdotes give unrealistic timelines (even enterprise migrations) that are either extremely fast (small catalog with no complex business logic) or extremely slow.
DIY is reasonable when the edges are boring
A team can easily manage the work if the store has fewer than 500 SKUs, one currency, one warehouse, no subscriptions, and no custom code. You would also need a crawl, redirect map, test store, data checks, and a rollback plan. These predictable failures matter more than the import tool itself:
- Accounts. Passwords require a reset or activation flow.
- Reviews. Historical reviews need a separate migration method.
- Checkout. Custom WooCommerce fields can disappear because Shopify’s checkout is more constrained.
- Recurring revenue. Subscriptions need billing-specific planning.
- Reporting. Historical orders may not reconcile with Shopify reporting without a separate pass.
Bring in a partner when the business cannot absorb mistakes
An import specialist is required if revenue is about $1,000,000+ per year, if there are 5,000+ SKUs, if there are subscriptions or B2B pricing, if merchandising uses custom Metafields, or if downtime will be less than 4 hours. Specialist work is priced between $4,000 and $25,000, depending on the work, and usually pays for itself due to fewer redirect failures, quicker checkout, and fewer bugs from apps. For more information on cost, see our breakdowns on choosing an ecommerce development company and Shopify migration services.
Some of this work is not really a migration, but more of a rebuild. When we migrated Oh La La! Macarons to Shopify, the catalog was only one part of the job. The harder task was making custom orders, corporate-branded macarons, workshop bookings, and same-day London delivery all fit into one storefront without breaking the checkout. The lesson applies broadly: if your WooCommerce store does anything unusual, plan for the migration to also fix the parts of the model that were never quite right.
Launch Day and the First 30 Days
Launching a site should feel orderly and a bit uneventful. Make sure you freeze edits on WooCommerce and finalize exported customer and order snapshots. Finally, confirm every mapped redirect is functioning correctly.
Things to do before removing storefront password:
- Catalog. Product availability, variants, images, descriptions, collections, search, mobile navigation.
- Checkout. Taxes, shipping zones, discounts, gift cards, subscriptions, payment methods, email capture.
- Orders. Physical, digital, variable, discounted, tax-exempt, and international test orders.
- Operations. Payment capture, fulfillment emails, inventory deductions, refunds, reports, customer accounts.
- Measurement. Analytics, ad platform feeds, product catalogs, sitemap submission, conversion tracking.
- Recovery. Timestamped database and theme backups, old store in read-only mode, documented rollback owners.
Do not delete your WooCommerce hosting or payment accounts while your new theme is live. Keep them available until Shopify has processed live orders and the team has reconciled payments, fulfillment, inventory, and support. While launching your site, watch for checkout errors, failing webhooks, indexing problems, 404 pages, revenue loss, conversion drops, and inventory issues. For the next 30 days, monitor ranking and traffic issues, and fix redirects, update advertising feeds, product catalogs, sitemaps, and business listings after you have confirmed the switch.
Today’s first step is to export customers, orders, and products. Finally, do a full URL crawl, put all results in one place, give a due date and an owner to all unresolved results, and run your first Shopify migration in a development store. The build, data model, and URL Audit are what our Shopify development team does. If the project goes beyond what a single developer can do, our ecommerce replatforming guide helps clients navigate the process to get their rankings back in 6 weeks.
Migrating off a legacy CMS? Let’s talk. Free 30-minute call, no pitch.

Masoud Golchin is a backend developer at Refact, working on server-side systems, internal tooling, and infrastructure. He builds and maintains the services that support both client projects and the team’s day-to-day development workflow. His work includes backend logic, developer tools, system reliability, and the technical foundations that allow products to scale and operate consistently. At Refact, Masoud focuses on creating practical engineering solutions that help the team move faster while keeping systems organized, maintainable, and dependable.
More from Masoud Golchin

